Repairing Rock Walls in Oahu, HI: Common Issues and How to Fix Them
Rock walls in Oahu, HI are stunning, strong, and forever stylish. They hold up gardens, line driveways, and scream character. But nature? Relentless. Wind, rain, and time all wear them down. Cracks? Bulging? Loose stones? Don't panic. Don't stress.
Here’s what goes wrong—and exactly how to fix it.
Types of Rock Walls
Not all rock walls play by the same rules. Some stand strong with nothing but balance. Others lean on mortar for support. Here’s a quick breakdown:
- Dry-Stacked Walls – No mortar. Just gravity, skill, and perfectly placed stones.
- Mortared Walls – Cement-based mortar locks everything in. Strong but not invincible.
- Veneered Walls – A thin stone layer glued to a solid backing. Looks sturdy but looks can deceive.
Different builds. Different weak spots. But one universal truth? Time and weather show no mercy. Let’s break down the biggest threats to your rock wall.
Common Issues with Rock Walls (And How to Fix Them!)
1. Bulging or Leaning Walls
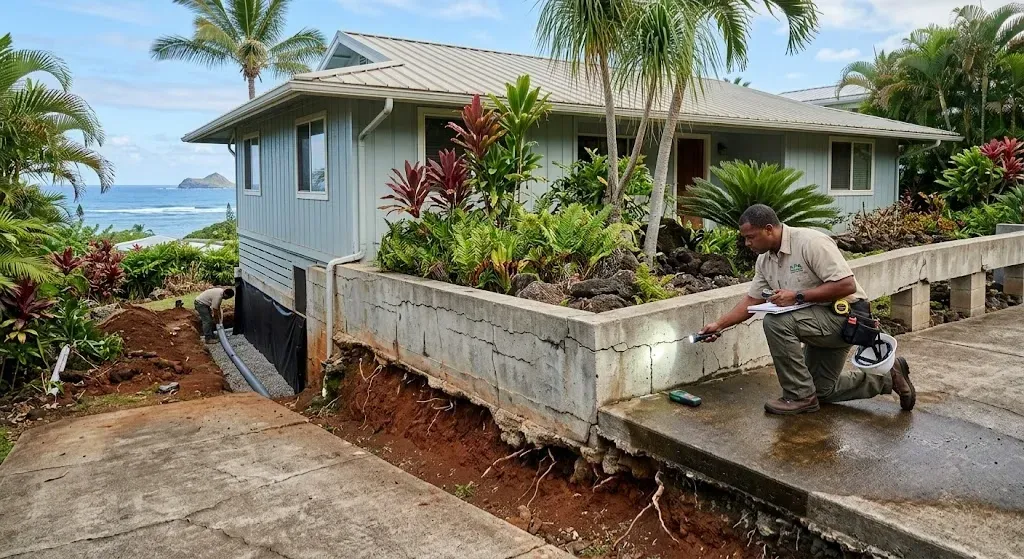
Is your rock wall tilting like it’s had one too many? Bad news. That’s a shifting foundation or pressure overload. Soil is sneaky. Too much water? It swells and pushes. Then it bullies the stones until they give in.
How to Fix It:
- Minor issue? Yank out the misbehaving stones. Reset them. Align them like you mean it.
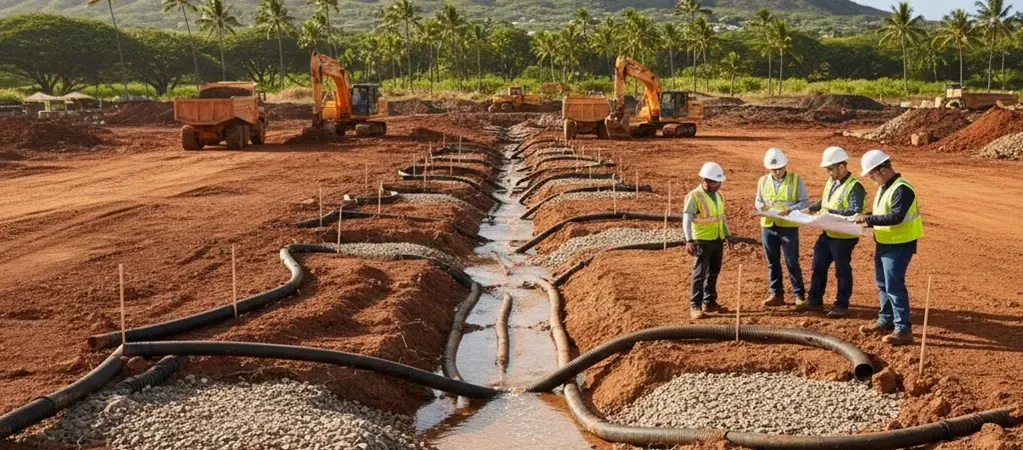
- Major mess? It's time to rebuild the affected section. Add proper drainage behind the wall. Stop water from turning your sturdy masterpiece into a wobbly disaster.
→ Learn about why rock walls are perfect for coastal properties in Oahu and how they handle pressure from nature.
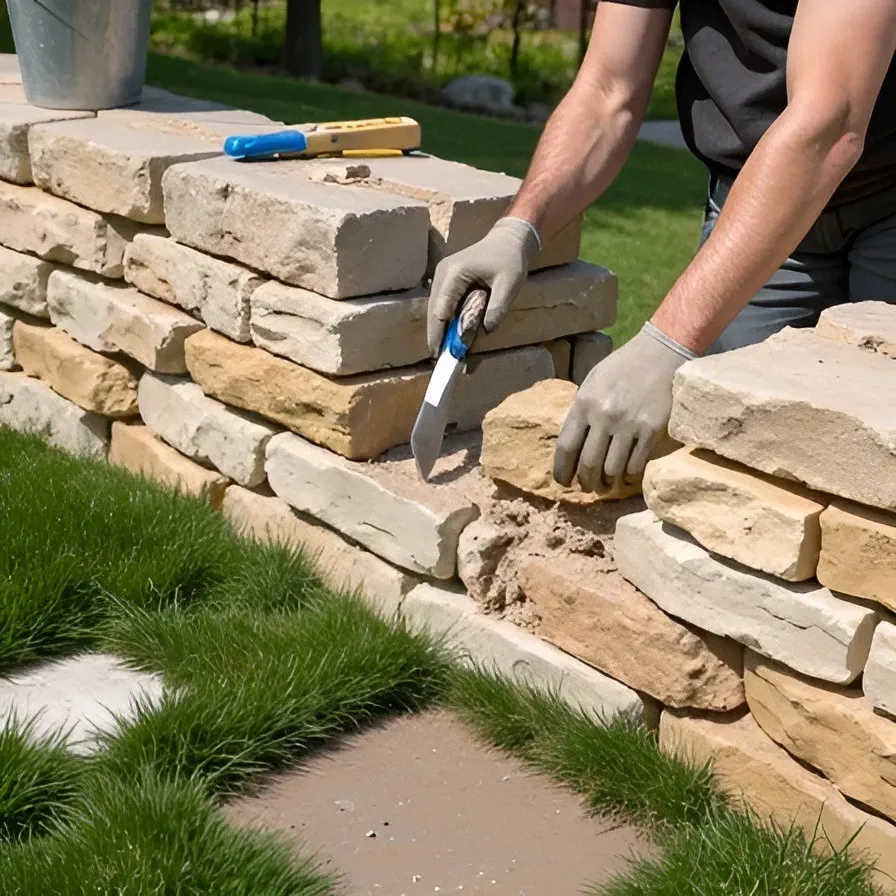
2. Loose or Displaced Stones
Rock walls aren’t Jenga. Stones shouldn’t wiggle, wobble, or take unexpected dives. If they do, something’s off. Could be settling, erosion, or a slapdash build job. Either way—fix it before your wall turns into a rock pile.
How to Fix It:
- Dry-stacked walls? Pick up the runaway stone. Reposition. Press it in snugly.
- Mortared walls? Scrape out the old, tired mortar. Slap in fresh mortar. Reset the stone like it was never gone.
→ If you’re considering tackling this yourself, read what you need to know before building your own rock walls.
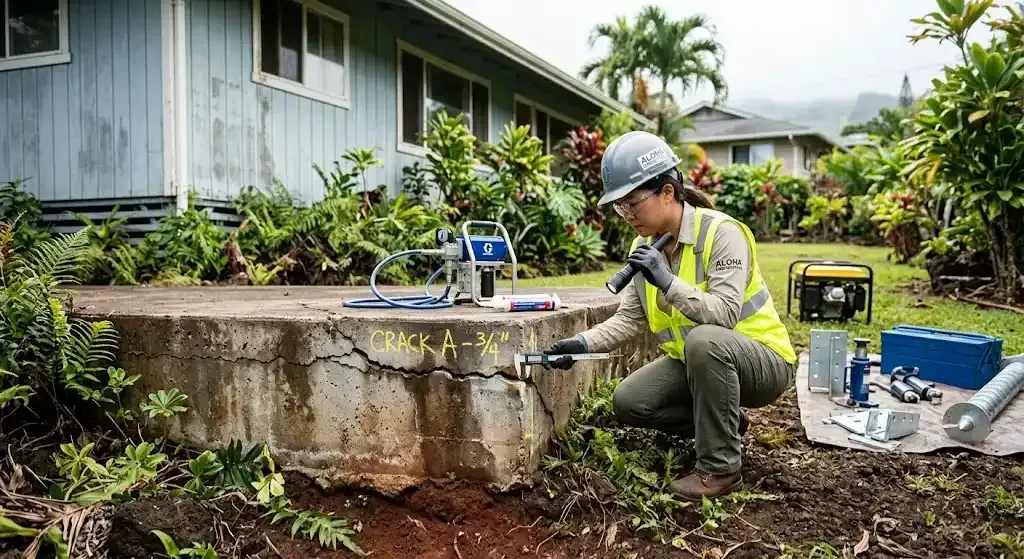
3. Cracks in Mortar
Sun, rain, and temperature tantrums break down the mortar gradually. Cracks form. Pieces crumble. Your rock wall starts whispering, Help.
How to Fix It:
- Chisel out the old, flaky mortar. Stay sharp. Don’t mess with other stones.
- Whip up fresh mortar. Smooth it in with a trowel. Fill every gap. No shortcuts.
- Let it cure. No rushing. No water exposure until it’s rock solid.
→ Want to understand what impacts longevity? Check out understanding the cost of rock walls in Hawaii.
4. Efflorescence (That Annoying White Powder)
Your rock wall in Oahu, HI looks a little... dusty? That stubborn white chalk isn’t just dirt. It’s efflorescence. A fancy word for salt sneaking to the surface when water evaporates. Ugly? Yes. Fixable? Absolutely.
How to Fix It:
- Brush it off with a stiff brush and warm water.
- Improve drainage around the wall to reduce moisture.
- Apply a breathable stone sealer. It will minimize future buildup.
5. Staining and Discoloration
Rock walls should age like fine art, not a neglected sidewalk. But time, water, rust, pollution—even moss and algae—have other plans. Stains creep in. Colors fade. Your wall starts looking... tired.
How to Fix It:
- Grab a stone-safe cleaner. Scrub with care. No harsh chemicals, no reckless scrubbing.
- Rust stains? Lemon juice + baking soda = magic. Let it sit, then rinse.
- Seal the deal. A good stone sealer blocks stains before they start.
→ Unsure which stones age best? Explore the best types of stones for rock walls in Hawaii.
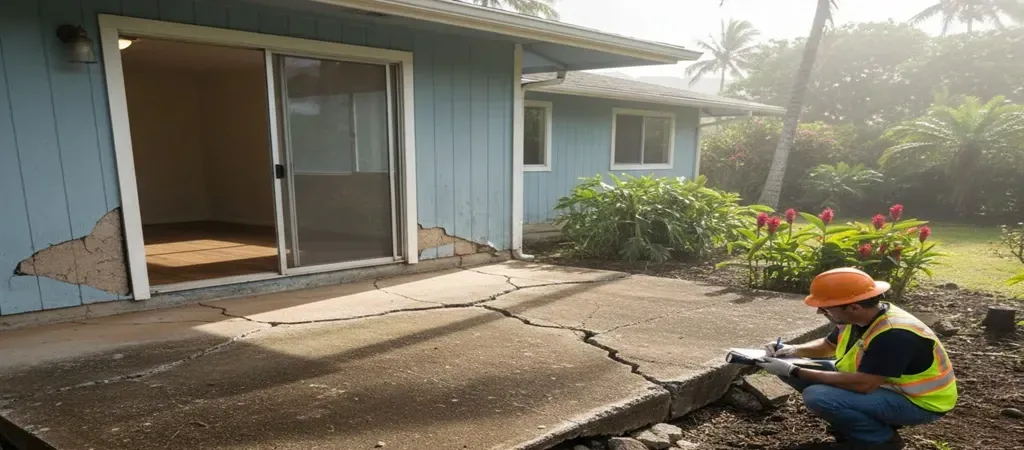
6. Water Damage and Freeze-Thaw Cycles
Water’s sneaky. It seeps in, settles deep, then waits for winter to freeze and expand. Before you know it, your rock wall’s playing a losing game of Jenga.
How to Fix It:
- Drainage, drainage, drainage. Water needs an escape route. Give it one.
- Seal the stones. Water-resistant coating = less seepage, and fewer headaches.
- Cracks already creeping in? Patch them up. Use fresh mortar or stone filler to get the job done.
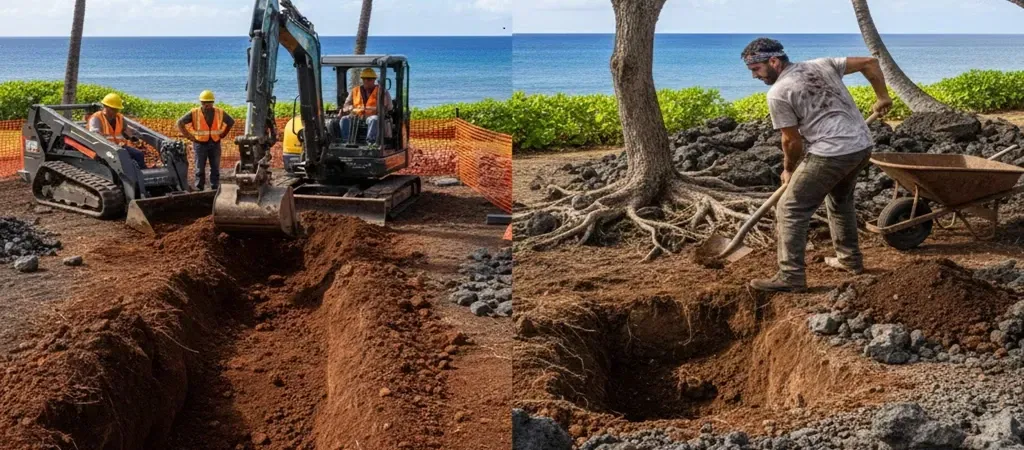
7. Plants and Roots Taking Over
A little moss? Cute. A creeping jungle? Not so much. Roots wedge in and push stones apart. Then, they turn solid walls into shifting puzzles. Nature is relentless. Your wall deserves better.
How to Fix It:
- Yank out the invaders. Hand-pull or scrub gently. No harsh tools, no stone damage.
- Deep-rooted trouble? Swap out affected stones before the damage spreads.
- Block future break-ins. A root barrier near the base keeps greenery in check.
→ See how professionals manage nature’s impact in Hawaiian rock wall construction.
Preventative Maintenance Tips
The best repair is the one you never have to make! Keep your rock wall in great shape with these tips:
- Inspect Regularly. Catch problems early before they get worse.
- Manage Water Drainage. Water is your wall’s biggest enemy.
- Reapply Sealant Annually. This helps protect against moisture and stains.
- Keep Plants in Check. Trim roots and move invasive plants.
- Fix Small Issues Quickly. A tiny crack today can be a major problem tomorrow.
When to Call a Professional
DIY is great—until it’s not. A few loose stones? You got this. But a wall leaning like it’s had one too many? Cracks deep enough to swallow your keys? Full-on collapse? Time to call a mason. They’ve got the tools, the skills, and the know-how to fix it right.
The Bottom Line
Rock walls are tough, but not invincible. Time, weather, and nature will take their toll. The good news? Most problems have simple fixes. Stay ahead of the damage. Fix small issues before they snowball. Protect your wall and it’ll stand strong for years.
Got a rock wall in distress? Don’t wait for it to crumble. Call Big Oahu Masonry Contractors today for professional help!