How To Build A Lava Rock Wall
Lava rock walls serve as a visual of the rich culture and history of the people in the islands of Hawaii. Before the natives figured out its use in wall construction, it was a cultural artifact. Locals worshiped them. Lava rock walls last for more than decades compared to a regular wall.
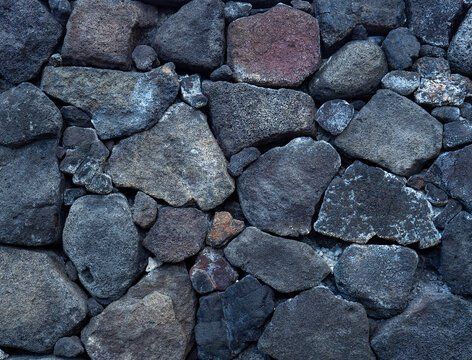
Lava rock walls have a long life span, and it is a beautiful sight to see. Lava rock walls have been in existence since primitive men. These walls are aesthetically pleasing to see. One would think they may not serve their barrier function. However, this wall is one of the strongest a homeowner could ever find.
Let's look at a bit of history behind the emergence of lava rock walls.
History of Lava Rock Walls
Lava rocks are also known as volcanic rocks. Hawaii is one of the city's populated with indigenous volcanoes. When these volcanoes erupt, the lava combines with oxygen and solidifies. These rocks are not the same as igneous rocks. But, they have a glassy appearance.
These rocks often contain clasts of other stones. However, this is just the scientific basis for the existence of Lava rocks. On the other hand, the Hawaiians believe the gods of the volcanoes produced these rocks to protect their lands and culture.
Ever since the natives decided to try out lava rocks on walls, it boosted their economy. Foreigners fly all the way to hire contractors for their lava rock wall constructions. Building a lava rock wall takes time and effort; there are certain steps to follow before completing a lava rock wall.
How To Build A Lava Rock Wall
Lava rock wall construction requires patience and undiluted attention during construction. There are different steps to erect a sturdy lava rock wall. Below are steps to take when building a lava rock wall.
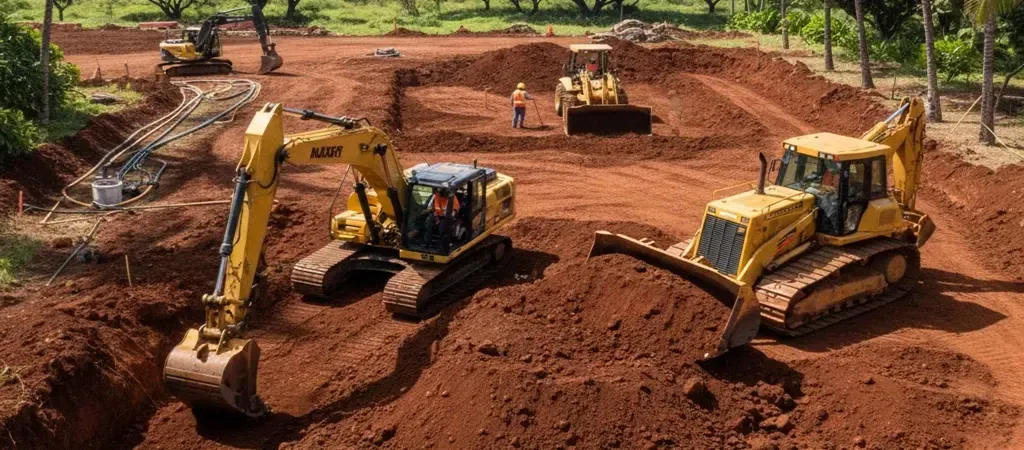
- Take measurement. Before building a lava rock wall, measure the space you want your wall erected. You can measure between two trees if it is for a garden wall. Your wall should be in-between trees or bushes. Consider the length of the proposed wall. Building a wall that is too high may ruin the layout of your home. So, take a precise measurement.
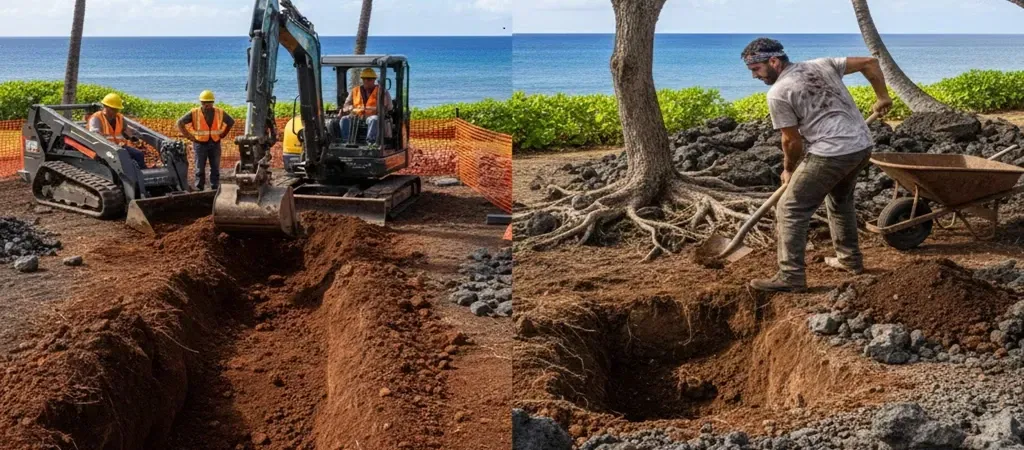
- Dig up a trench not too deep. Use a shovel for better results and ease. The grooves should not exceed ten inches. It shouldn't be more than a foot in-depth. For homeowners living in locations with drier soil, spray the trenches with water to make the soil workable. A dry soil makes it challenging to ply on.
- After digging up the trenches, begin to place the lava walls gently on one another. Continue this process until it reaches the surface(above ground level)—Line the side of the rocks by the side for a structured pattern.
- Add water to the cement mix, and stir. Mix thoroughly till the desired consistency is achieved.
- Use a shellacking tool to scoop up cement. Smother it onto the surface of the lava rocks and spaces between each stone. It will help to produce a sturdy foundation related to wind current.
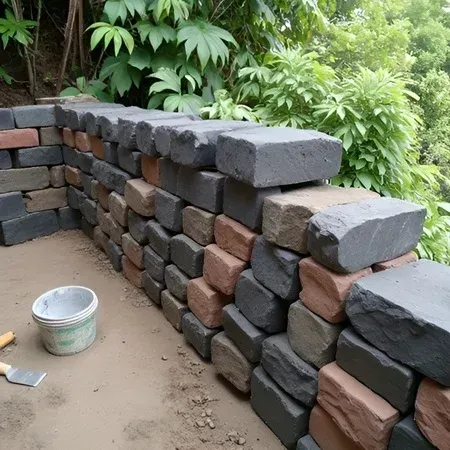
- Place lava rocks over the cement surfaced foundations. Compare and contrast the rocks' size and shape for the main wall. Comparing rock sizes helps in the binding process. Repeat this process until your desired size is consumed.
- Seal gaps with risks and leftover cement mixture—repair and clean any combination covering the rock's visibility.
Conclusion
That is all the process to achieve a vibrant and beautiful lava rock wall. Most people prefer to DIY. So, if you fall under this range, make sure you follow the steps explained above. You will find them very helpful.